Ingin membuat aplikasi Nest js dengan frontend menggunakan Vue js lumayan mudah, bagaimana melakukanya?
Ikuti langkah-langkah berikut ini:
Membuat Baru Nest app
Install the Nest CLI
npm install -g @nestjs/cliMembuat Applikasi baru Nest JS
nest new nest-with-vueInstall the dependencies
cd nest-with-vue yarn installVerifikasi apakah app Nest JS sudah jalan
Pertama, jalankan (perintah ini akan melihat file foldernya sehingga kami tidak perlu me-restart server saat kami membuat perubahan):
yarn start:devsetelah jalan, coba buka browser kemudian buka link http://localhost:3000
jika instalasi berhasil maka akan muncul tulisan hello world.
Setup Serve Static Content
Install depedency yang di butuhkan
yarn add @nestjs/serve-staticdi gunakan untuk serving static content di nest js.
Setelah instalasi selesai, selanjutnya ubah fils src/app.module.ts menjadi seperti berikut:
import { Module } from '@nestjs/common';
import { AppController } from './app.controller';
import { AppService } from './app.service';
import { ServeStaticModule } from '@nestjs/serve-static'; // New
import { join } from 'path'; // New

@Module({
  imports: [
    ServeStaticModule.forRoot({
      // Baru
      rootPath: join(__dirname, '..', '/client/dist'), // New
    }), // baru
  ],
  controllers: [AppController],
  providers: [AppService],
})
export class AppModule {}
src/main.ts:
import { NestFactory } from '@nestjs/core';
import { AppModule } from './app.module';

async function bootstrap() {
  const app = await NestFactory.create(AppModule);
  app.setGlobalPrefix('api'); // Baru
  await app.listen(3000);
}
bootstrap();
kita memindahkan semua endpoint yang ada ke bawah /api, lalu menyajikan konten statis di folder ./client/dist (yang belum ada) saat kita coba akses root (dalam hal ini localhost:3000).
Perhatikan juga bahwa nama klien di sini bisa berupa apa saja. Itu hanya folder tempat kita akan meletakkan aplikasi Vue.
Verifikasi bahwa endpoint sudah berhasil di pindah
coba jalankan kembali dan buka http://localhost:3000 , kalau sudah berhasil akan error seperti tambilan berikut.

tetapi ketika akses http://localhost:3000/api maka akan muncul sesuai sebelumnya.
Membuat Vue JS App
Langkah selanjutnya adalah membuat Vue js app, masuk ke dalam folder root app dest js kita kemudian lakukan install vue js
npm init vue@latest

✔ Project name: … <your-project-name>
✔ Add TypeScript? … No / Yes
✔ Add JSX Support? … No / Yes
✔ Add Vue Router for Single Page Application development? … No / Yes
✔ Add Pinia for state management? … No / Yes
✔ Add Vitest for Unit testing? … No / Yes
✔ Add an End-to-End Testing Solution? … No / Cypress / Playwright
✔ Add ESLint for code quality? … No / Yes
✔ Add Prettier for code formatting? … No / Yes

Scaffolding project in ./<your-project-name>...
Done.
untuk project name, kita tadi setting dengan nama client, maka kita menggunakan nama client juga.
setelah itu update file yang ada di dalam project nest js
tsconfig.json
{
  "compilerOptions": {
    "module": "commonjs",
    "declaration": true,
    "removeComments": true,
    "emitDecoratorMetadata": true,
    "experimentalDecorators": true,
    "allowSyntheticDefaultImports": true,
    "target": "es2017",
    "sourceMap": true,
    "outDir": "./dist",
    "baseUrl": "./",
    "incremental": true,
    "skipLibCheck": true,
    "strictNullChecks": false,
    "noImplicitAny": false,
    "strictBindCallApply": false,
    "forceConsistentCasingInFileNames": false,
    "noFallthroughCasesInSwitch": false
  },
  "exclude": ["node_modules", "dist", "client"]
}
tsconfig.build.json
{
  "extends": "./tsconfig.json",
  "exclude": ["node_modules", "test", "dist", "**/*spec.ts", "client"]
}
Kemudian build app Vue js kita:
cd clientyarn install yarn buildsetelah build app vue, maka akan membuat file di dalam folder client/dist
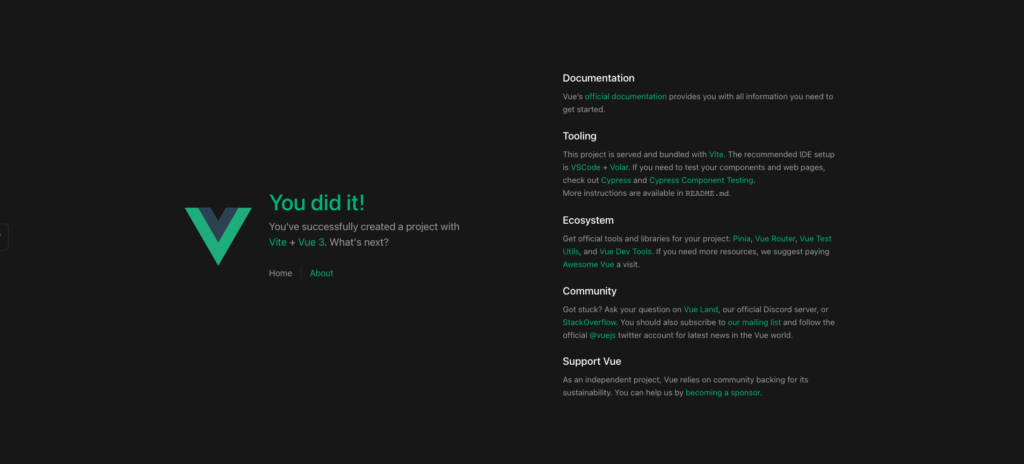
setelah itu coba buka kembali url http://localhost:3000, maka hasilnya:

Selamat Mencoba 🙂
Untuk melihat codenya bisa di Github


